- Your cart is empty
- Continue Shopping
Tips For Beginers
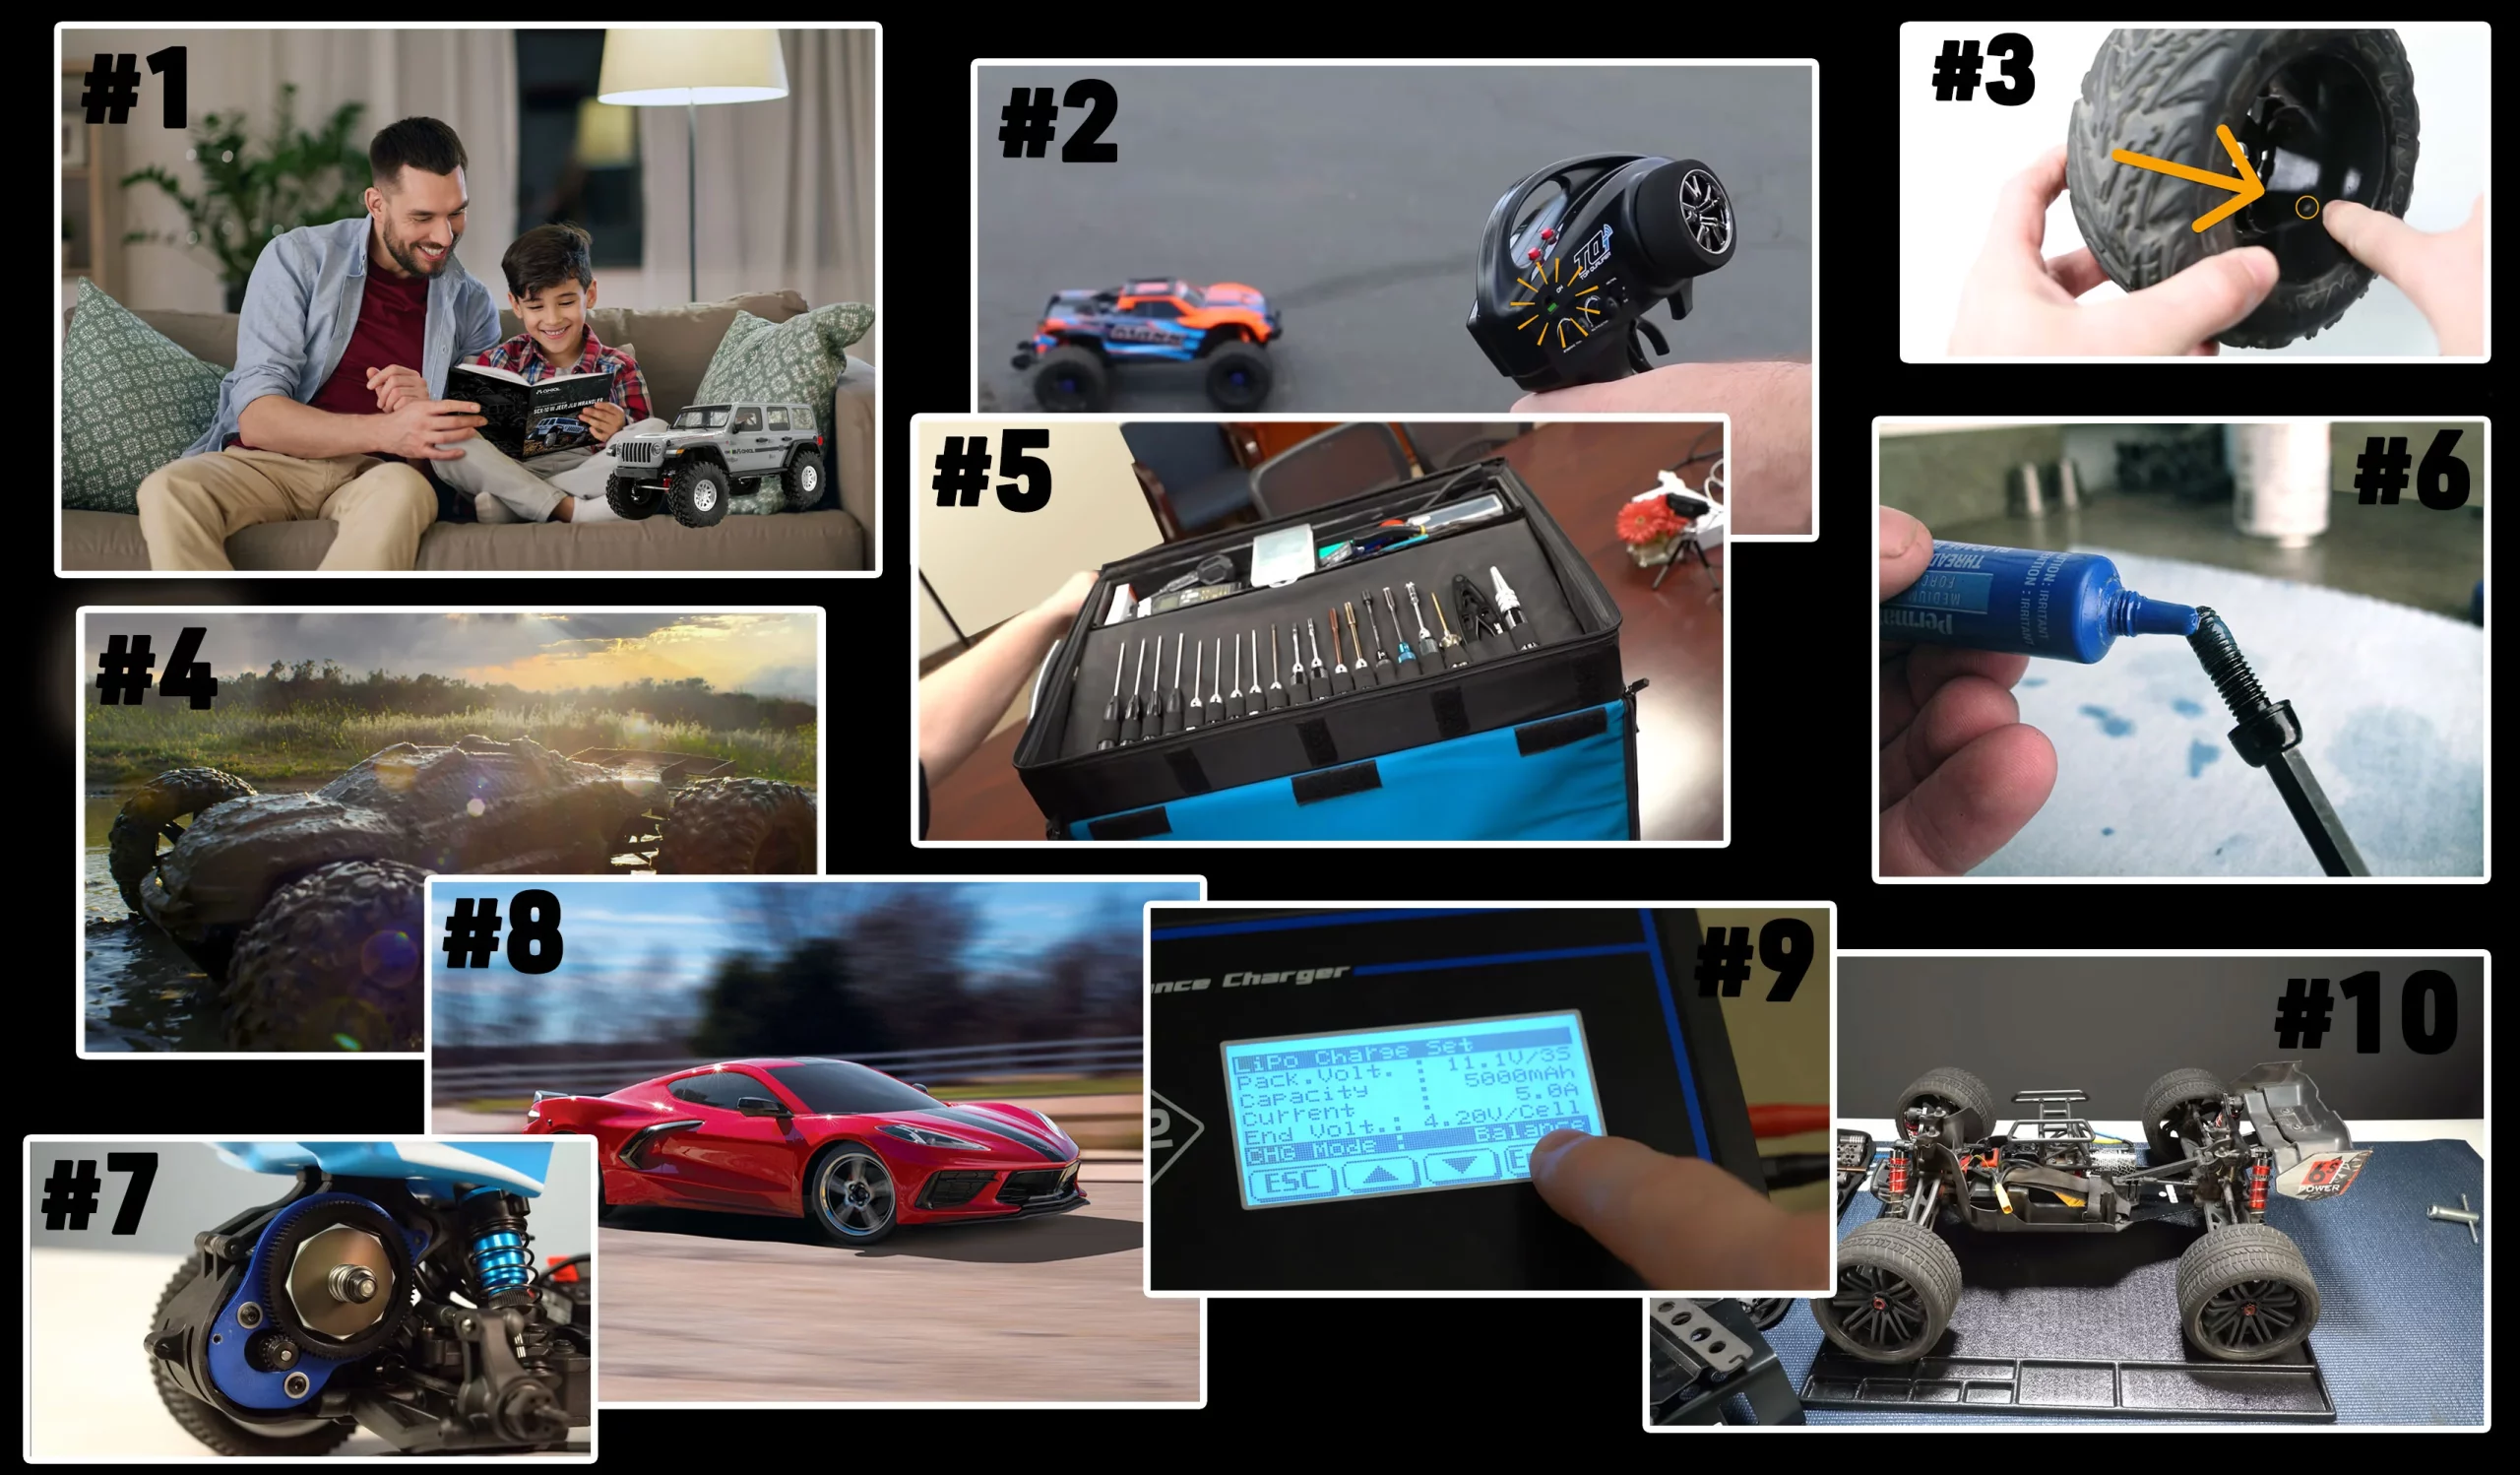
When you get your first radio control vehicle, the experience can be fun, but there can also be quite a bit to learn, and mistakes can be made. Because of this, we’re running down our top 10 tips for beginners to help you save time, energy, and money.
Tip #1

The first tip is something super simple but can be overlooked in the rush of excitement: just read the instruction manual that came with your vehicle. It has tons of great information about the vehicle, transmitter, batteries, and even more helpful info.
One of the most valuable items is the exploded parts diagram. This diagram is an excellent resource for understanding how the parts stack together. If you need to disassemble or reassemble something, that parts diagram can be beneficial. For reference, the diagram also lists all the product numbers to the parts used on your vehicle. So, if you break something, you can quickly locate the part number.
Tip #2
The next tip is probably the most elementary on this list. Still, many people don’t know that you always turn the transmitter on before the vehicle when you’re ready to drive. This way, your transmitter is sending signals the moment your vehicle is turned on. Otherwise, your transmitter could pick interference signals because it cannot find the transmitter. On another note, if you have a nitro model and try to turn it on without the transmitter, your throttle, linkage, and all that could be set wide open. Additionally, once you are done and want to turn everything off, you should always turn the vehicle off first and then the transmitter.
Tip #3
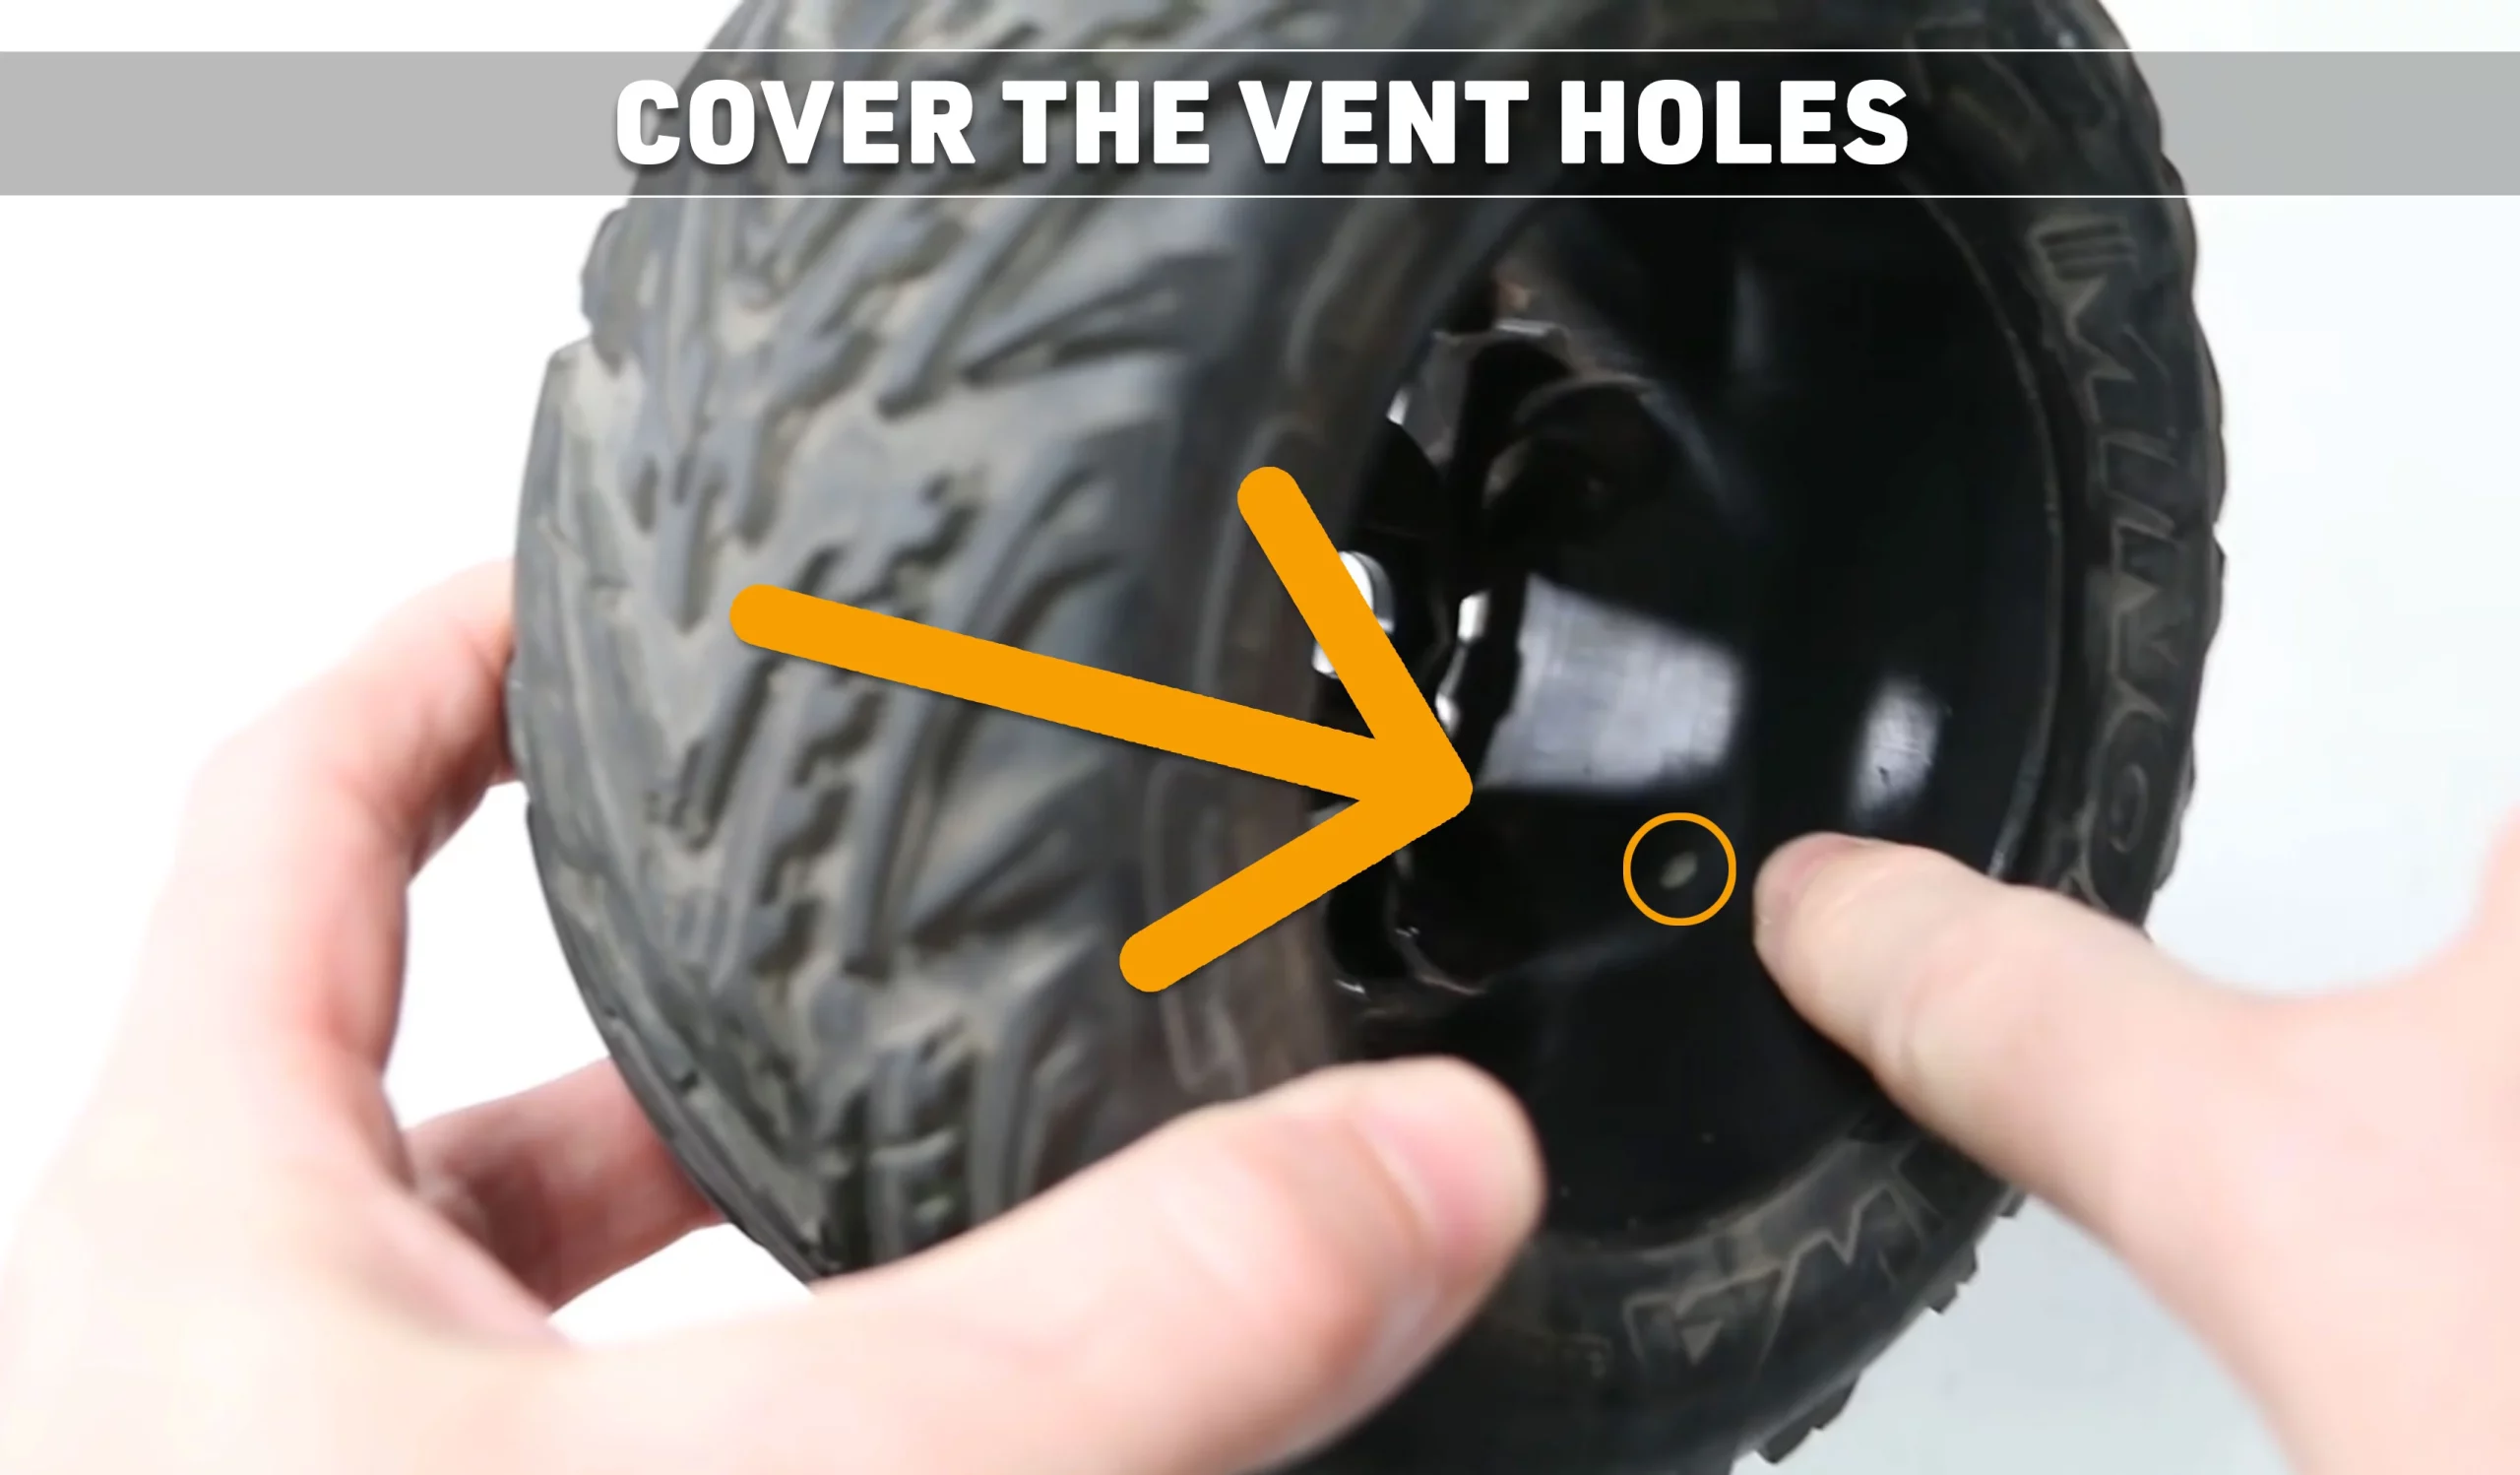
Our third tip is a straightforward one and a great habit to develop. Cover the vent holes in your wheels. The main idea here is to cover them so nothing gets inside the tire. If your vehicle doesn’t have waterproof electronics, you probably won’t be getting it wet. If it does, what tends to happen when driving in water or mud or any wet conditions is that moisture will get inside the tire and get your foam insert wet. Eventually, that wet foam will degrade, and if it never dries out, that foam will break down. It’ll tear inside the tire, and when you use your vehicle, it’ll bunch up in one spot on the tire like a knot. Essentially, the tires are no good at that point and need to be replaced. On the other hand, if you cover up the vent holes beforehand so no moisture can get inside your wheels, your tires will last a lot longer.
Water isn’t the only enemy. When you drive in sand, it has a way of finding its way into everything, and sand will most definitely find its way inside your tires through that little vent hole, and when it does, sand will fill up and collect inside your tire, and it won’t get out. It will cause the tire to become really heavy. With four tires filled with sand, they could weigh two to three times as much as normal, which could cause your electronics to work double-time—causing the motor and the ESC to overheat. It could ultimately lead to those electronics burning up and failing.
So the simple tip of covering those vent holes with tape before driving is a really great idea to ensure your electronics, as well as the tires, stay in good shape. And, if you are getting your R/C wet, it’s a great idea to wipe it down with an old rag or spray it down with an air compressor to get it all dry. Moisture is not only bad for your tire inserts—it’s not great for your vehicle and chassis.
Tip #4
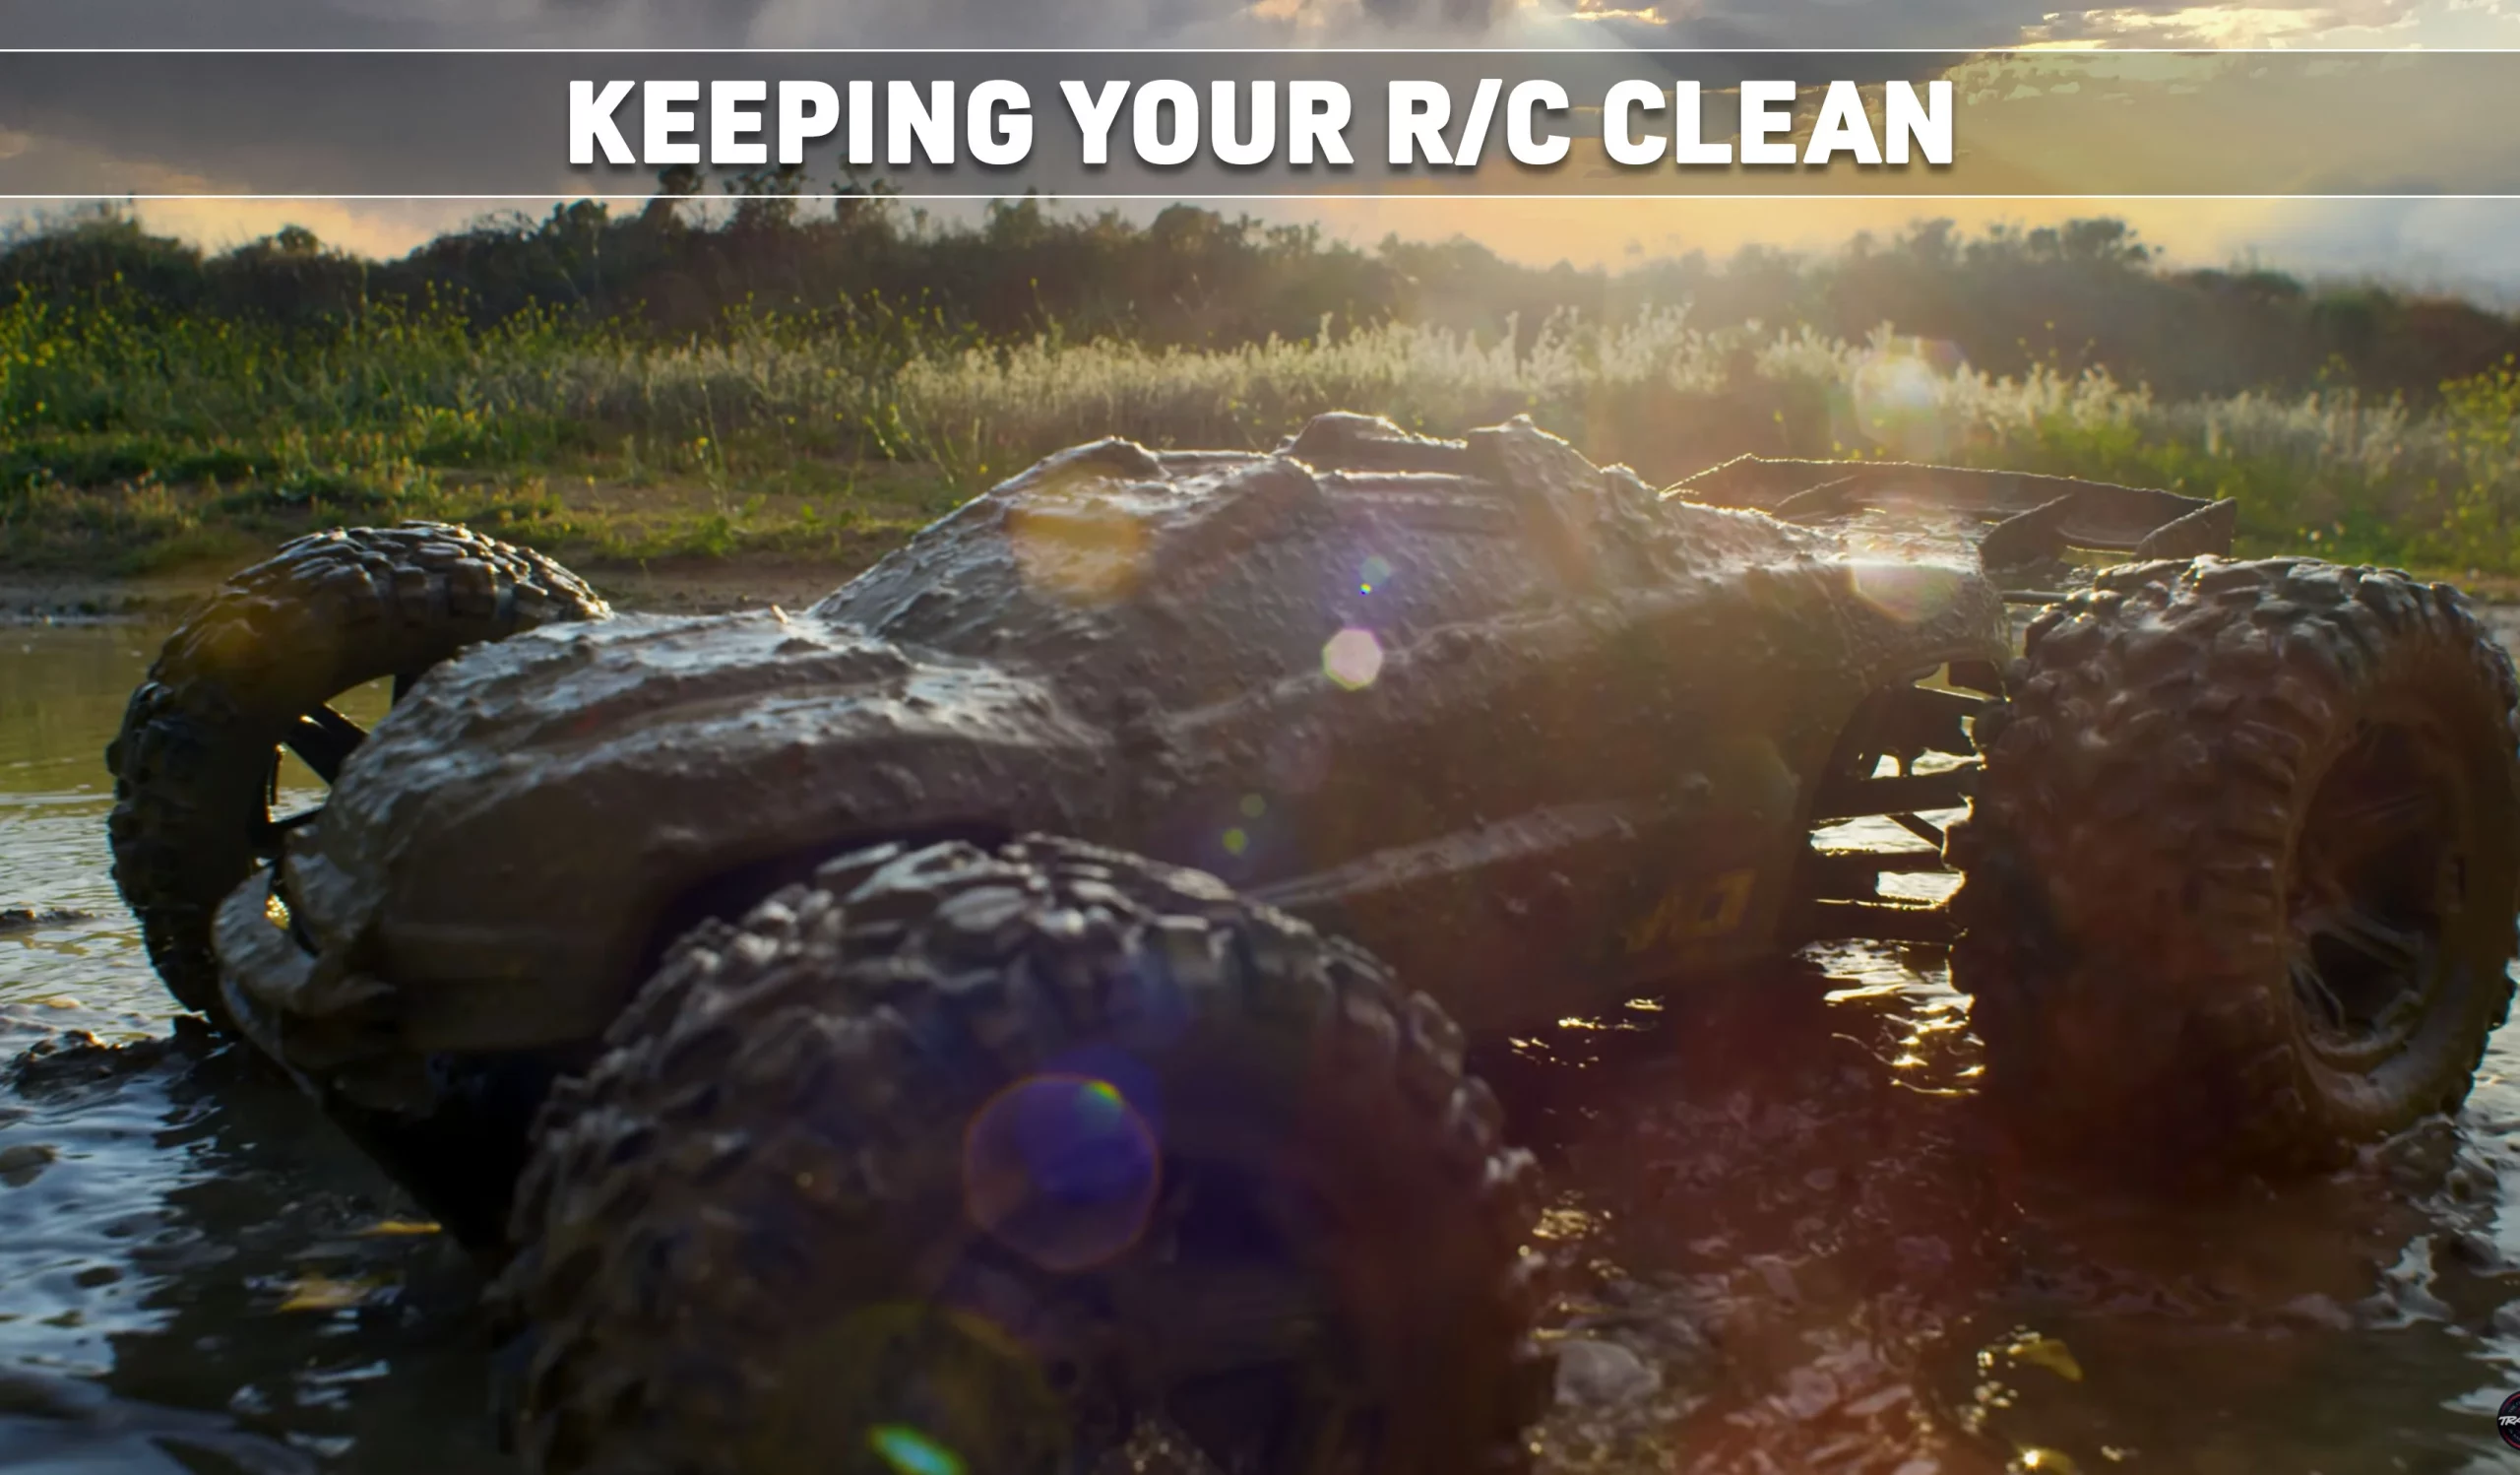
If you’re driving in the mud, the same thing applies you want to clean off your vehicle afterward. You can use an old towel or even soft brush paintbrushes, wipe it down—they do a great job. Making a habit of cleaning your kit will help it last longer because dirt, grime, and dust have a way of working into your suspension components and drivetrain.
Once you’ve finished cleaning up your car, it’s good to inspect it to see if anything looks loose or if any screws are backing out. Occasionally we will take a shock off to see if the suspension arm assembly drops freely under its weight to ensure there’s no binding. Binding in your suspension is going to be really bad and alter the performance of the vehicle.
It’s also a great idea to remove the motor or engine occasionally to ensure that the drive train spins freely under its weight. Any resistance in the drivetrain or binding will put a lot of unnecessary stress on the electronics.
Tip #5
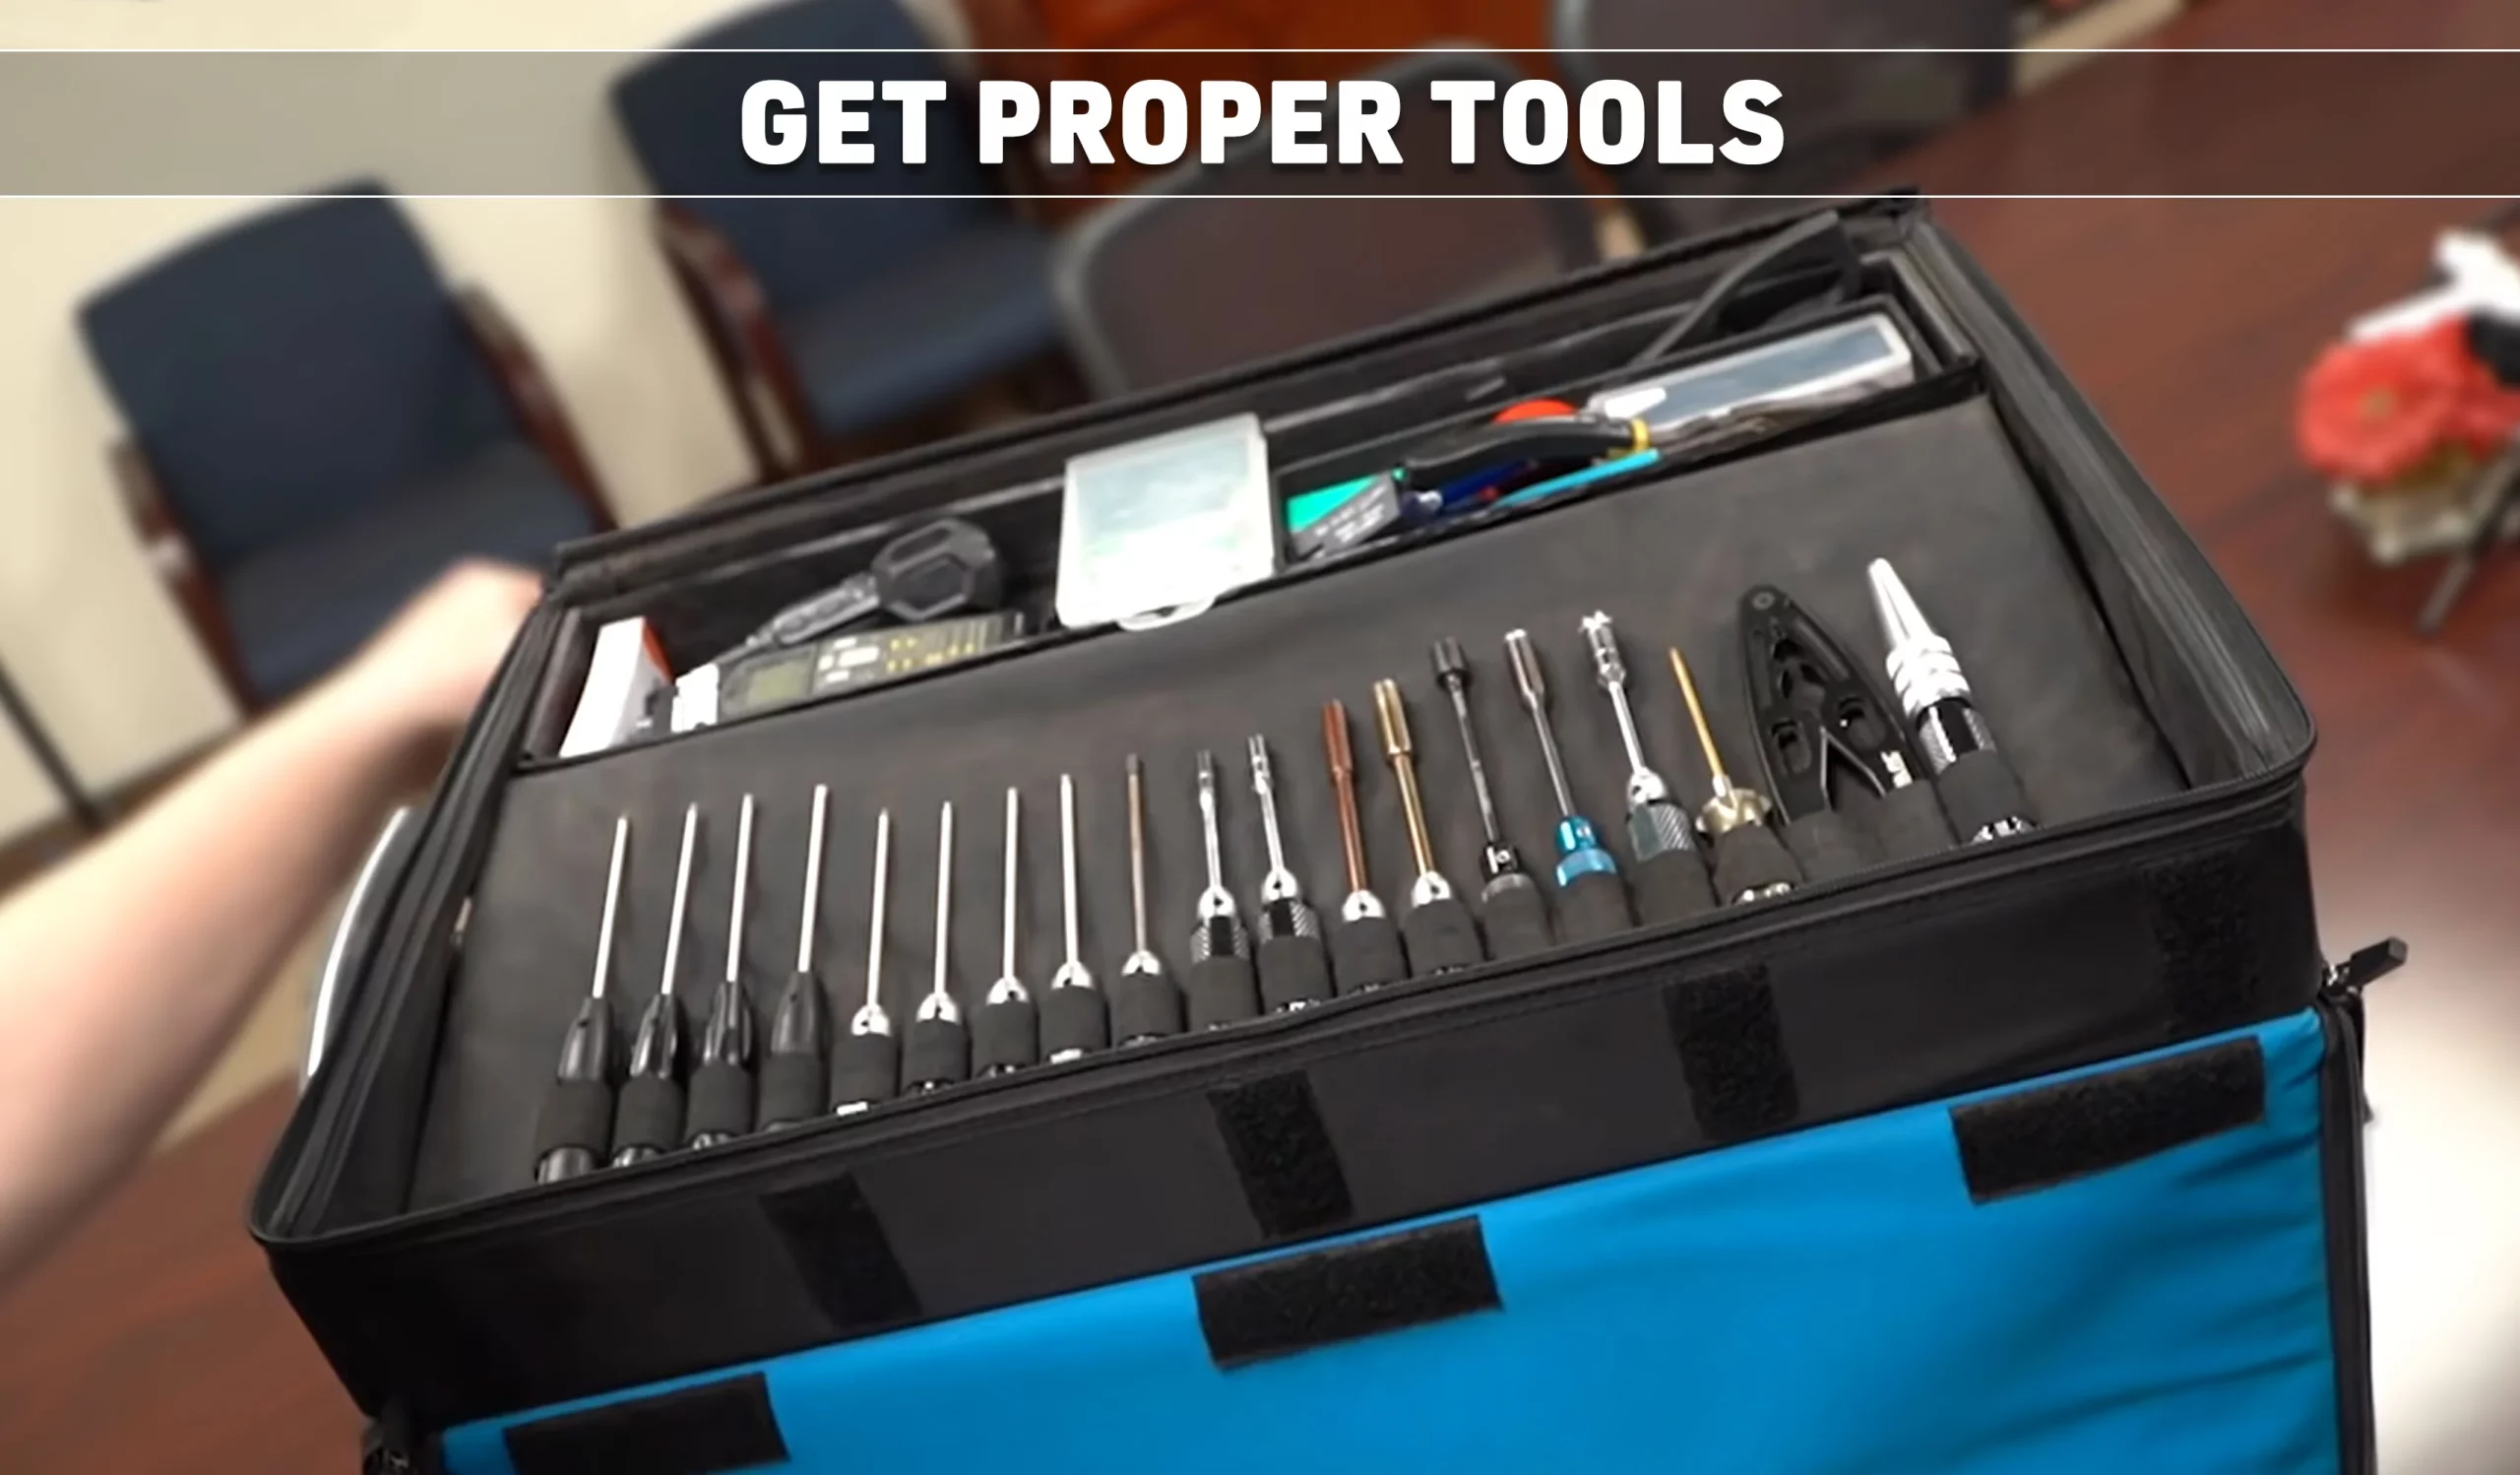
When it’s time to do some serious tinkering and tuning, having the right tools will make all the difference in the world. Of course, most ready-to-run R/C’s will include Allen wrenches, but they can be cumbersome to use, they’re not very long, and it is not easy to apply a lot of torque. Plus, they dig into your hand. So picking up a quality set of tools like some hex drivers with long proper tips on them with oversized chunky handles will allow you to apply a lot of pressure and make all of the difference.
The same goes with having the proper nut drivers. They’re going to be way easier to use than those little wrenches that come with your vehicle. Again, the right tools are a game-changer, and you’ll find that you’ll probably be able to do the same work in half the time.
Some people use needle nose pliers with their shocks which is really bad. The shock shaft and shock body need to be scratch-free to prevent leaking. So, an excellent tool to have are shock pliers. These pliers allow you to grip the shock shaft or the shock body without scratching.
Tip #6
The next tip is thread lock. Whether your parts are aluminum, brass, or steel, metal screws threaded into metal parts tend to back out and unthread themselves over time. So we recommend using a medium or blue thread lock for those parts; this is especially true with nitro vehicles because the engine vibrations tend to rattle the screws loose quickly.
If you’re screwing into plastic, don’t over tighten or torque down screws too much. You can strip them out. If it has stripped a bit and the screw keeps spinning and spinning, it’s probably okay to leave it in. It probably won’t back out. If the screw is backing out of the plastic piece, remove the screw, put CA glue on the threads, and then reinstall. The CA will dry and fill in the gaps of the strip threads, and it’ll hold the screw in place and you’ll still be able to remove that screw later on.
If you’re screwing into plastic, don’t over tighten or torque down screws too much. You can strip them out. If it has stripped a bit and the screw keeps spinning and spinning, it’s probably okay to leave it in. It probably won’t back out. If the screw is backing out of the plastic piece, remove the screw, put CA glue on the threads, and then reinstall. The CA will dry and fill in the gaps of the strip threads, and it’ll hold the screw in place and you’ll still be able to remove that screw later on.
Tip #7
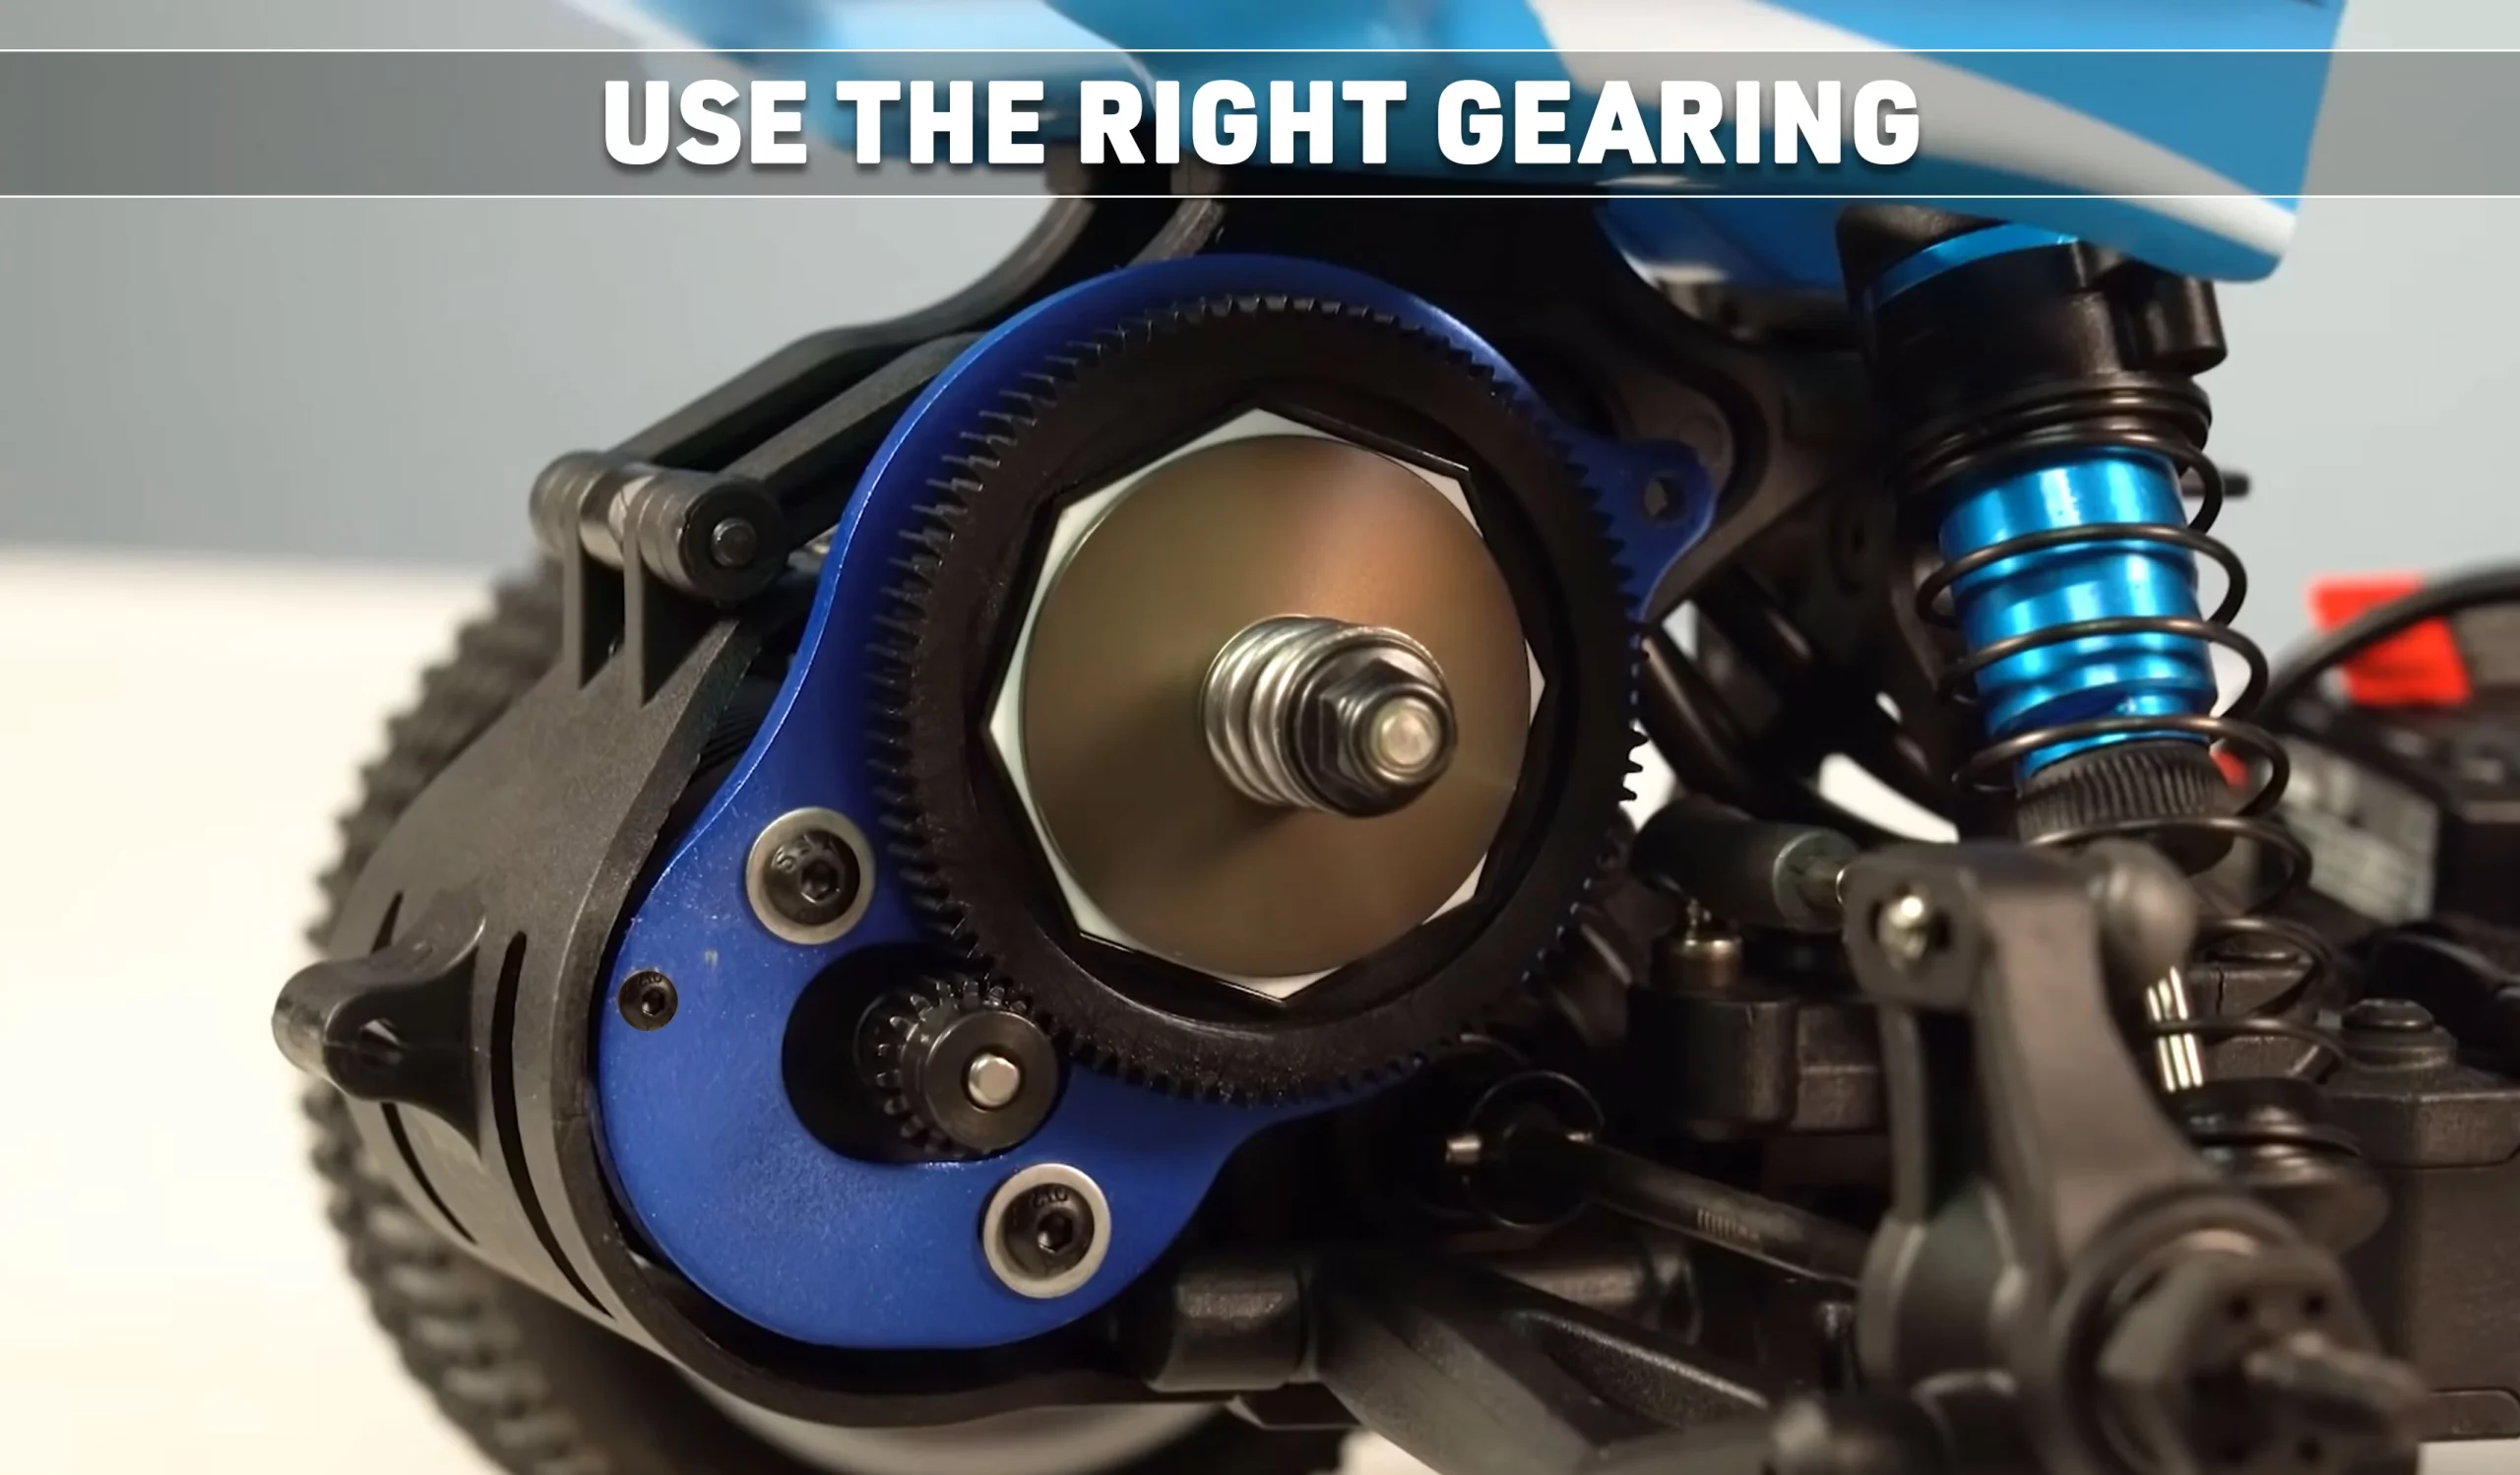
The gearing on your ready-to-run vehicle is optimal for general driving and ensures that the motor doesn’t get too hot. For the best long-term life of your electric motor, it’s best to keep the temperatures below 170° Fahrenheit or about 76.5° Celsius. The tendency for most people is to go faster. So gearing up or using a larger pinion gear is a great way to get a little bit more speed out of your vehicle, but it also generates more heat. So paying attention to the motor temperatures is crucial. Using a temp gun will allow you to meter the motor and get an accurate temperature reading. We recommend driving your vehicle for a few minutes and checking the temps to ensure you are within the safe zone before changing your gearing.
Many ready-to-run vehicles will include optional gearing for speed runs. However, that optional gearing is only recommended to check your maximum speed. Using the higher gearing for general driving will most definitely overheat the motor and possibly the speed controller. The same can happen if you’re using larger diameter tires. Swapping the tires that came with your vehicle with larger diameter tires will effectively change the vehicle’s rollout, and it’s like using a larger size pinion gear. So if you’re going to make that swap, it’s a good idea to make sure that you check the motor temps after the first run, and if they’re not good, you might want to gear down to a smaller pinion gear.
Many ready-to-run vehicles will include optional gearing for speed runs. However, that optional gearing is only recommended to check your maximum speed. Using the higher gearing for general driving will most definitely overheat the motor and possibly the speed controller. The same can happen if you’re using larger diameter tires. Swapping the tires that came with your vehicle with larger diameter tires will effectively change the vehicle’s rollout, and it’s like using a larger size pinion gear. So if you’re going to make that swap, it’s a good idea to make sure that you check the motor temps after the first run, and if they’re not good, you might want to gear down to a smaller pinion gear.
Tip #8

On the flip side of gearing up, your vehicle is all the aftermarket electronics you can use for more speed—things like more powerful brushless systems, more powerful LiPo batteries, and faster motors. When you’re new to R/C, it’s really easy to get caught up in how fast the vehicle is and how fast you can make it. So our best tip is, before you go out and set any new land speed records, take time and be patient to build up your driving skills. Adding in more power and speed to your vehicle will ultimately make it harder to control, and a vehicle that is hard to control is really easy to crash.
If you have extra money and you’re itching to upgrade your car, one of our favorite upgrades is different tires to suit your terrain. Then maybe a more robust steering servo or a faster steering servo. We have made an entire video dedicated to R/C upgrades to help you make the best selections for your vehicle. Still, if you’re new in the hobby, try not to go too fast too soon.
If you have extra money and you’re itching to upgrade your car, one of our favorite upgrades is different tires to suit your terrain. Then maybe a more robust steering servo or a faster steering servo. We have made an entire video dedicated to R/C upgrades to help you make the best selections for your vehicle. Still, if you’re new in the hobby, try not to go too fast too soon.
Tip #9
LiPo batteries are one of the most incredible advancements R/C vehicles have ever seen, but they require some care and maintenance. So here are a few tips about caring for your LiPo batteries.
First, always use the balance mode on your battery charger. We recommend you check out your charger manual for more information on the balance mode and how to use it. Over time a battery that hasn’t been balanced charged will become unbalanced, and the cells inside will be at different voltages. One can be high, and one can be low. If this is the case, it’s pretty dang dangerous. For your own peace of mind, it doesn’t hurt to use a cell checker to check your batteries every once in a while to ensure your cell voltages are balanced.
The second tip with LiPo care is not to leave your battery fully charged. Leaving a battery fully charged for days on end is the most harmful and damaging thing for its long-term health. Instead, if you can’t use that fully charged battery for some reason, you should use the storage mode on your charger. Simply plug your battery into the changer and select storage mode. It will discharge your battery to a safe and healthy level.
The third and last tip for LiPo care is something pretty dang simple. When you’re done using your battery, remove it from your vehicle.
Tip #10
The top tip we have for you as you start your radio control journey is remembering that things break. Parts can only withstand so much of an impact in a crash, and they can only withstand so much wear and tear before they bend, snap, or crack. Most radio control cars are high-performance vehicles, and they have incredibly high power-to-weight ratios, so it can be very easy to break parts. Also, if you’re crashing hard or have a high-speed vehicle, the drivetrain components will wear out over time and need replacement. So keep in mind that there are replacement parts available. You can get factory OEM parts, or there are tons of aftermarket accessories and upgrades available. Just be sure to set some money aside for parts that you may need in the future and go have fun.
Lipo C Rating Explained – What does the number mean?
When shopping around for lipo batteries, especially lipo batteries for fpv quadcopters and drones, a number thrown around a lot(a lot) by manufacturers is the C rating.
So what exactly is the lipo C rating?
In plain English, the C rating is how much current the battery can deliver.
Usually, the C rating will be expressed as two numbers separated by a slash, like 45/90 or 65/130. The first number denotes the constant current it can deliver. This is current that the lipo battery can push out consistently without dropping voltage significantly(and damaging your battery).
The second number is the burst current, or the current the lipo battery can push out for a short time – usually, this is a much higher current, and the voltage will start to drop rapidly, too.
The formula for calculating current is fairly simple:
Current = C rating x Amps
So if you have a 1300 mAh lipo battery with a 65C rating, the current your lipo battery can steadily deliver is:
Current = 1.3 x 65
Current = 84.5 amps
If the burst rating on said battery is 130C, then the burst current your lipo is capable of is:
Current = 1.3 x 130
Current = 169 amps
For more power and current delivery – especially on a miniquad – stick to a higher C rating battery, at least 60 or above for the continuous rating.
If you want to be exact, or are planning on building a monster setup with 23xx or 24xx motors and plan to put heavy propellers on them, you’ll want to check first on Mini Quad Test Bench to see if they have any testing data for your motor and prop combination.
You’ll want to get a battery that can, on paper at least, handle the 100% throttle current well under the full burst rating, because remember, the numbers are inflated.
Remember that C rating is not the only indicator of current – if a battery falls short of your expected current draw, use a bigger battery instead!
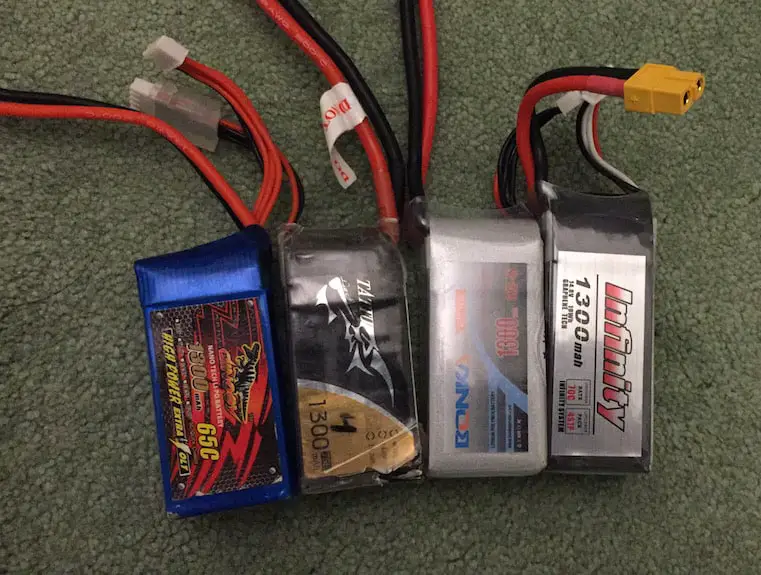
For 5″ builds, you can use a 1300 or 1500 mah battery comfortably, and if you’re using monster motors and monster props, then you can get away with 1800 mah as well.
Doing some quick math, here’s how the three batteries would perform with a hypothetical 65C rating:
1.3 x 65 = 84.5
1.5 x 65 = 97.5
1.8 x 65 = 117
So what exactly is the lipo C rating?
In plain English, the C rating is how much current the battery can deliver.
Usually, the C rating will be expressed as two numbers separated by a slash, like 45/90 or 65/130. The first number denotes the constant current it can deliver. This is current that the lipo battery can push out consistently without dropping voltage significantly(and damaging your battery).
The second number is the burst current, or the current the lipo battery can push out for a short time – usually, this is a much higher current, and the voltage will start to drop rapidly, too.
Table of Contents
How to calculate current using the C rating
The formula for calculating current is fairly simple:
Current = C rating x Amps
So if you have a 1300 mAh lipo battery with a 65C rating, the current your lipo battery can steadily deliver is:
Current = 1.3 x 65
Current = 84.5 amps
If the burst rating on said battery is 130C, then the burst current your lipo is capable of is:
Current = 1.3 x 130
Current = 169 amps
Determining how much C rating you need
If you don’t want to read too much into the details, here’s the short answer:For more power and current delivery – especially on a miniquad – stick to a higher C rating battery, at least 60 or above for the continuous rating.
If you want to be exact, or are planning on building a monster setup with 23xx or 24xx motors and plan to put heavy propellers on them, you’ll want to check first on Mini Quad Test Bench to see if they have any testing data for your motor and prop combination.
You’ll want to get a battery that can, on paper at least, handle the 100% throttle current well under the full burst rating, because remember, the numbers are inflated.
Remember that C rating is not the only indicator of current – if a battery falls short of your expected current draw, use a bigger battery instead!
For 5″ builds, you can use a 1300 or 1500 mah battery comfortably, and if you’re using monster motors and monster props, then you can get away with 1800 mah as well.
Doing some quick math, here’s how the three batteries would perform with a hypothetical 65C rating:
1.3 x 65 = 84.5
1.5 x 65 = 97.5
1.8 x 65 = 117